
Tuesday, May 6, 2014

Saturday, May 3, 2014


Tuesday, April 29, 2014
Just For Mommy Laughs...You know we need Them!!!!!
Click on the Title Below to watch Mary Ellen Hopper's awesome stand up routine!!!
Being a Mom: The Truth
Being a Mom: The Truth
 |
| Pic from www.vegasnews.com |
Tuesday, March 4, 2014
Felt Flower

Have you ever wanted to learn how to make those cute little felt rosettes? Here you go!!! They are so easy!!!


Friday, February 28, 2014
Dove's Selfie Project
My first born is an incredibly sweet, strong-willed, independent, self-assured, confident 3 year old girl. I watch her in amazement, as she always does what she thinks is right or good, even though it might not be what the other kids around her are doing.
I, on the other hand have never had the confidence and strength as she does. She often sits with me in the bathroom as I am getting ready to go somewhere. Lately, she has been asking a lot of questions or mimicking things I do like sighing in the mirror at my face. I knew my behavior had to change, in order to encourage her to maintain hers. As I watched this video, it reinforced everything I was thinking. If you have a daughter, please take a minute to watch. Ours girls are so so so impressionable. The strongest female influence in her life is her Mom. So Mom!!! Time To Shape Up!!!
I, on the other hand have never had the confidence and strength as she does. She often sits with me in the bathroom as I am getting ready to go somewhere. Lately, she has been asking a lot of questions or mimicking things I do like sighing in the mirror at my face. I knew my behavior had to change, in order to encourage her to maintain hers. As I watched this video, it reinforced everything I was thinking. If you have a daughter, please take a minute to watch. Ours girls are so so so impressionable. The strongest female influence in her life is her Mom. So Mom!!! Time To Shape Up!!!


Thursday, February 27, 2014
Stuffed Heart
This is a little project making stuffed hearts I did for Valentine's Day. I am planning on doing the same thing for St. Patrick's day with shamrocks. You can use these stuffed hearts like I did on a wreath, or use them in a apothecary jar or even add a little ribbon to the top and hang them around your home.
Gather everything you'll need.
1. felt
2. glue gun
3. embroidery floss and needle
4. scissors
5. heart template
6.any little things you want to use to decorate them, I used little scrap booking faux chalk signs and buttons
7. Polyfill

1. Use your heart template and trace your hearts on the felt. Remember, you will need an front and back piece for each heart. I traced them out on 1 piece of felt, then piled them up and cut out a bunch at a time.

2. Now it's time to decorate, go crazy, simple and sweet, or glam.

3. Next, I used an blanket stitch to sew the back on with embroidery floss. (Click here for the full blanket stitch tutorial.) I left about an inch of the heart open and stuffed it with polyfill. Then I sewed it closed.
Here's how they turned out.....

I pinned mine to a wreath for Valentine's Day.

Check back for felt flower tutorials!!!

Friday, February 21, 2014
Blanket Stitch
I apologize for my lack of posts lately. I live in New Jersey and have been buried under 3 feet of snow. Since I am a teacher we have had a ton of snow days. I mistakenly thought that they would give me a ton of spare time to work on my blog. Silly silly me...my 1 year old and 3 year old were also home with me, so I spent the majority of my snow break loading and unloading the dishwasher, picking up toys, doing laundry and vacuuming. It is mind boggling how much work those two kids can make for Mommy in a matter of minutes.
Anyway, I want to prove I was trying really hard to work on my posts. Therefore, I'm just going to throw the last few that I have been working on up even though we are a little past Valentines Day.
The first thing I want to show you how to do is a blanket stitch by hand. You'll need to know how to do it for my next post on stuffed hearts.
1. I cut 2 of the same sized hearts of of some felt. I wanted to sew them together and stuff them as little Valentine's Day decorations. To sew them I used the blanket stitch. I started out my putting the two wrong sides of the heart together. Then I took my needle and thread, knotted the end and started my first stitch through the wrong side of the back piece of the heart.
 2. Next, stitch through the front to the back. Leave yourself a loop, don't pull the thread tight just yet.
 3. Thread the needle through the loop you just made and pull tight.
 |
 |


Saturday, February 15, 2014

Thursday, January 9, 2014
No Mess Crock Pot Cooking
I wanted to follow up yesterdays post with a quick tip/hint to make your life a billion times easier, when cooking with your crock pot!

TA DA!!!!
Crock Pot Liners
I love these bad boys!!! 4 come in a box for $1.29. Just stick them in the crock pot. Toss in what you are cooking. Then when it's done take the food out, slip out the bag, toss it in the garbage and clean up is done. AWESOME!!!!
Wednesday, January 8, 2014
The Post You've Been Waiting For!!!! Crock Pot Gound Beef/Turkey
How to Cook a Large Amount of Ground Turkey or Beef in the Crock Pot
Being a working Mom is challenging. Especially one that doesn't particularly like to cook. After working all day, the last thing I want to do when I come home is, make a big mess in the kitchen and start cooking dinner for everyone. This has been a huge help to me and I hope that it will to you.
Our household are huge fans of ground turkey. We use it for so so much, tacos, tomato sauce, (my husband favorite) cowboy casserole, chili and more. I have found that you can make a large amount of ground turkey or beef in the crock pot, then use what you want and freeze the rest for quick meals later.
Here's How:
1. Lightly spray the inside of your crock pot with a little Pam.
2. Add Turkey or beef.

3. Add a little water. Set on High if your cooking it from it being frozen or low if it is thawed for 6 hours.
4. Go to Work
5. When you get home drain the meat in a strainer and dump it back in the crock pot.
6. Turn the pot off and let it cool.
7. Take out portions to freeze, I put them in zip lock freezer bag and label them with the date.
8. Then, if I leave any I want to use that night I just put in any seasonings I want and warm it back up in the crock pot.

Easy Peasy!!!!!
Monday, January 6, 2014
Another Toy Organinzing Help
This weekend I forged onward in my battle to get organized. While at target I found a pretty cool thing!!! My bathroom usually has bath toys all over it. The bath tub ledges, on top of the shower door (yeah, you regularly get bopped in the head by a falling one when closing the shower door for a relaxing shower for yourself)and even on the back of the toilet (gross I know).
Since I am a Pinterest junkie, I have found really creative ideas for organizing a bathroom. I have to say though, when I found the Munchkin Bath Toy Scoop it just seemed to make the most sense, instead of buying things like pressure rods and baskets to hang against the bathtub wall.

Since I am a Pinterest junkie, I have found really creative ideas for organizing a bathroom. I have to say though, when I found the Munchkin Bath Toy Scoop it just seemed to make the most sense, instead of buying things like pressure rods and baskets to hang against the bathtub wall.
It is a nice size and holds a ton of toys. You can use it as a scoop, to retrieve all the toys from the water. It also come with an adhesive hook to attach to the bathtub wall. As it hangs up there all the remaining water drains out. I highly recommend this product!!! It's only $13.99 at Target, see the link below!!!
Thursday, January 2, 2014
Priority #1 This New Year: Time to Get Organzied
Anyone with a family and a home knows that Christmas is quickly followed by a tornado of toys all over the house. Now...I live in a very teeny tiny cape with my 2 kids, husband and dog. It is a challenge to say the least, to find a place for everything and still have room to move. I have not been doing a great job of it in the last year or so, however, it's my New Year's resolution to get better at it. Follow me in my journey!!
Here was my first step:
 With a trip to Ikea, I was able to get some of the toys in our playroom up and off the floor. I purchased these 2 storage units from the Trofast Series.


Here was my first step:
 With a trip to Ikea, I was able to get some of the toys in our playroom up and off the floor. I purchased these 2 storage units from the Trofast Series.


As with most things from Ikea, they were very affordable. They were also incredibly easy to put together. They are also pretty sturdy. I did attach them to the walls so that my kids who think they are part Spider Man don't pull them down on top of themselves. I'll follow up with pics of the playroom. I highly recommend these as part of organizing kids stuff!!!
Thursday, December 19, 2013
Awesome Stocking Stuffers For Him, Her, Kids and Pets!!!
For The Kids:

1. Dino Dig Stocking Stuffer: Find It on Amazon
2. Spot It!: Fun For the Whole Family

3. Homemade Snowman Bubbles
Via: Inspired By Familia

4. Chew Beads: Awesome For Small Kids

5. Chocolate Poopers: Really Cracks Up the Little Ones!
For Him:

1. Swiss Army Knife: It Does Everything!!!

2. Cool Duck Tape: They already use it for everything, make it fun to look at!

3. Mini Flashlight: We are always on the hunt for missing flashlights in our house. Get him a little one for safe keeping. Find It Here

4. Men's Fuzzy Socks: What a Great Winter Gift!!
5. Lottery Tickets: Hey, You Never Know!!!!
For Her:

1. Hand and Foot Warmer Combo Pack: She'll Love you Forever!!!!
2. Cute Nail File Set

You can never go wrong!
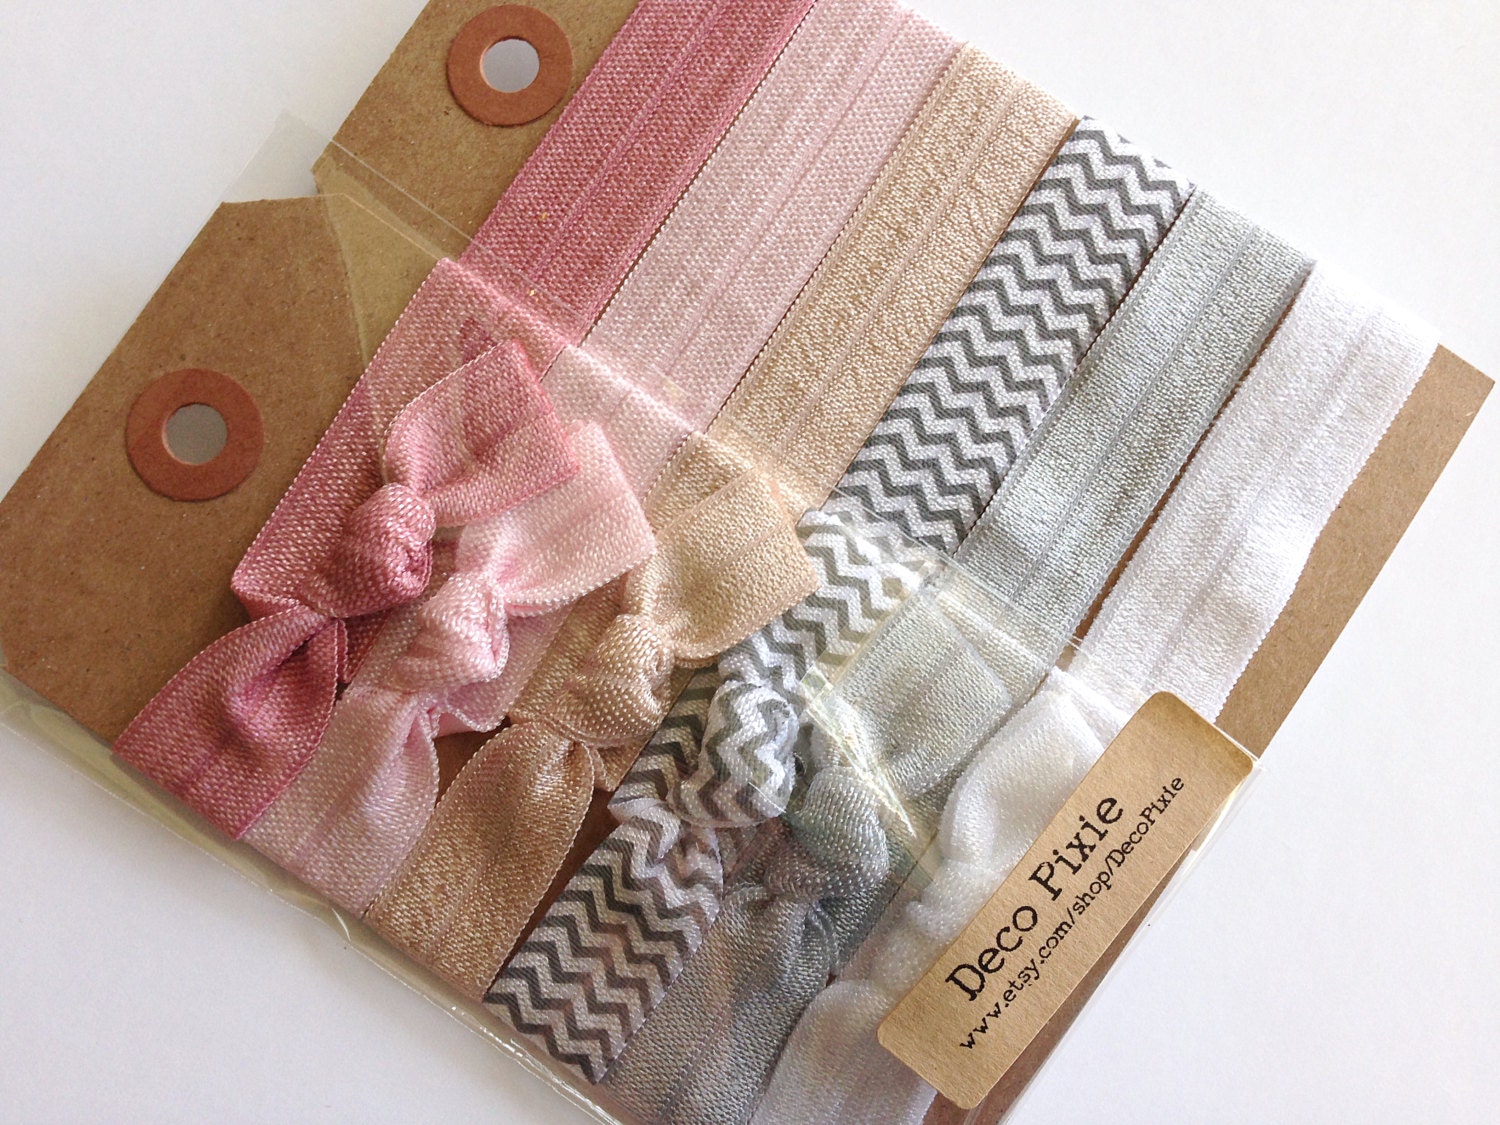
3. Cute Hair Ties
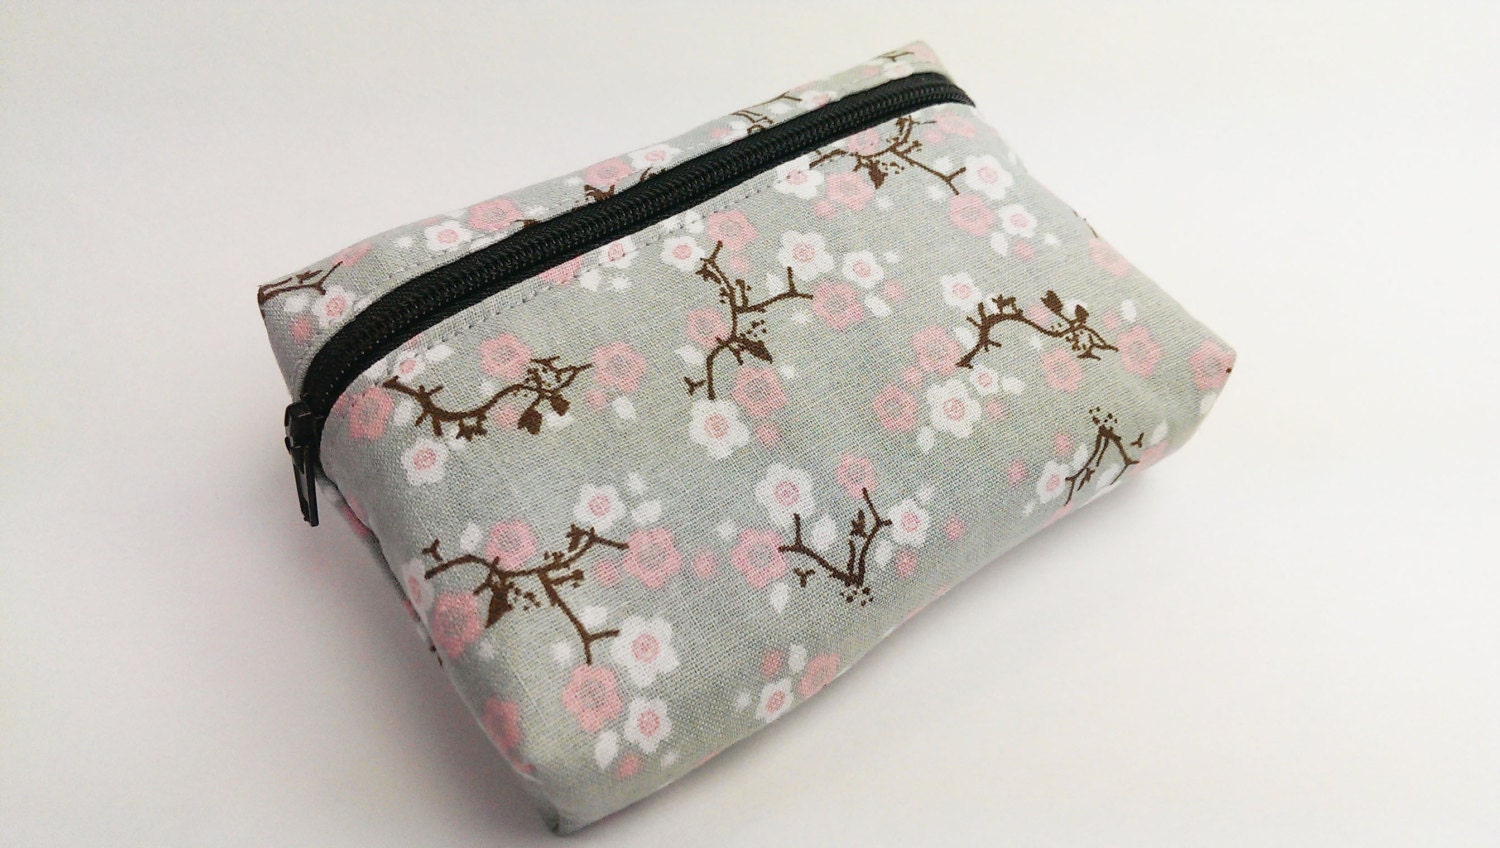

4. A Bit of Everything Emergency Kit

5. Nail Polish
(Make sure to get her the Good Kinds!)
For your Furry Family Members:
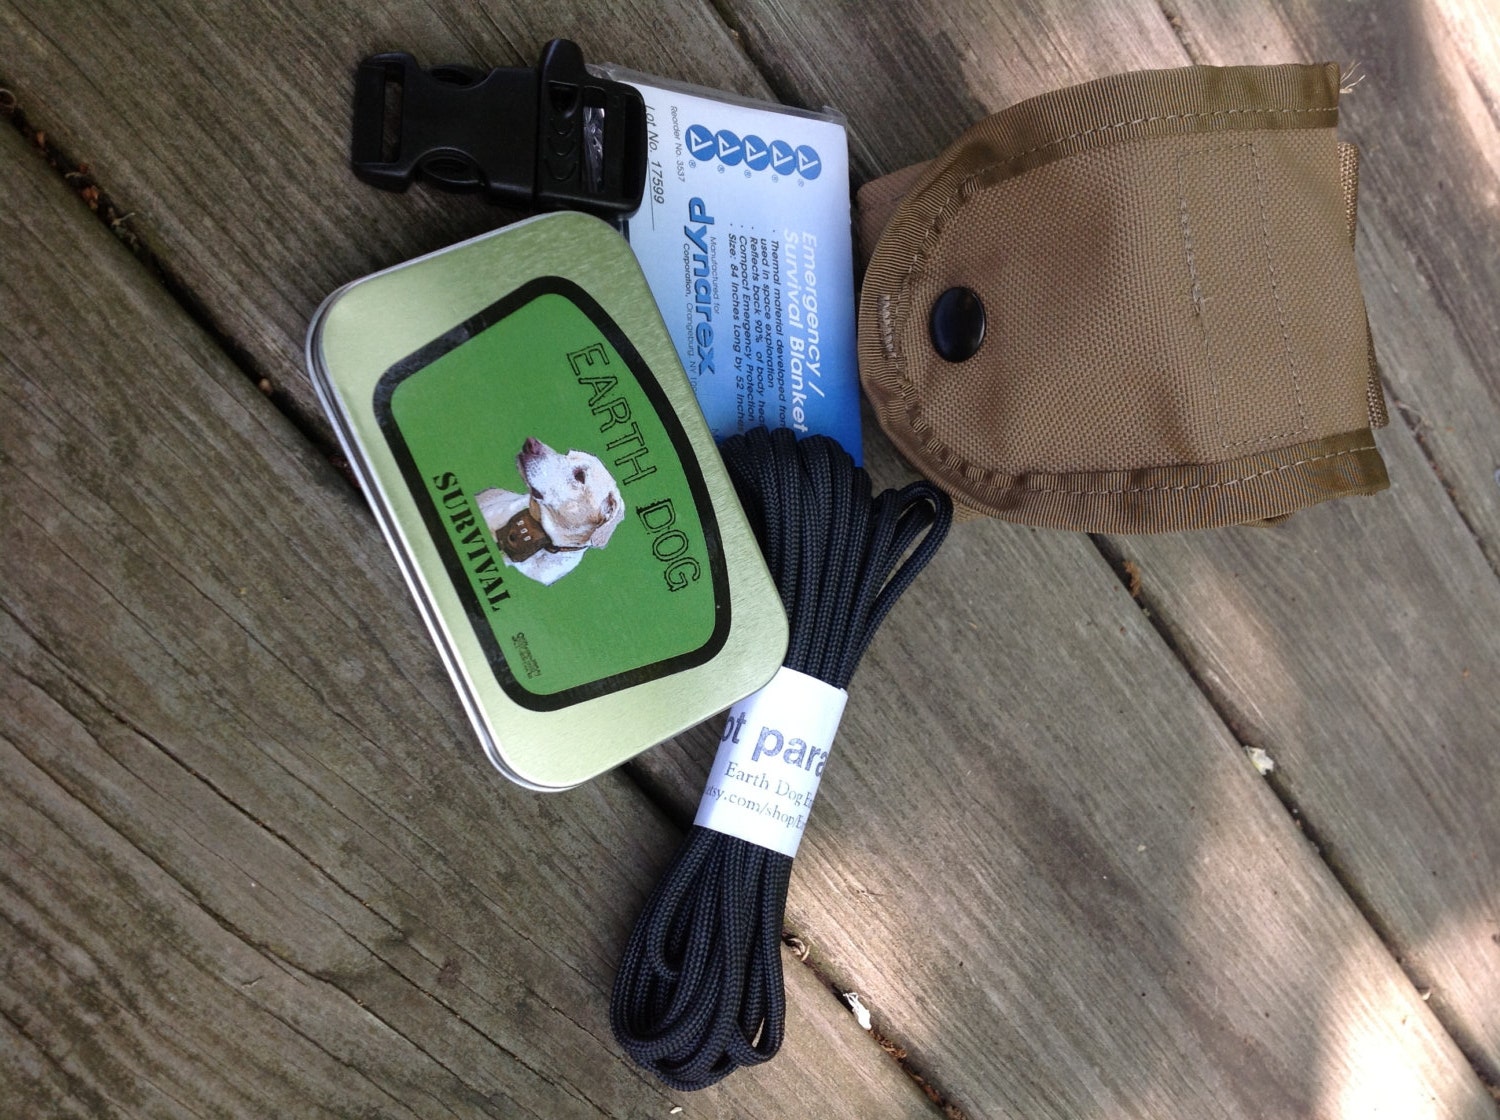
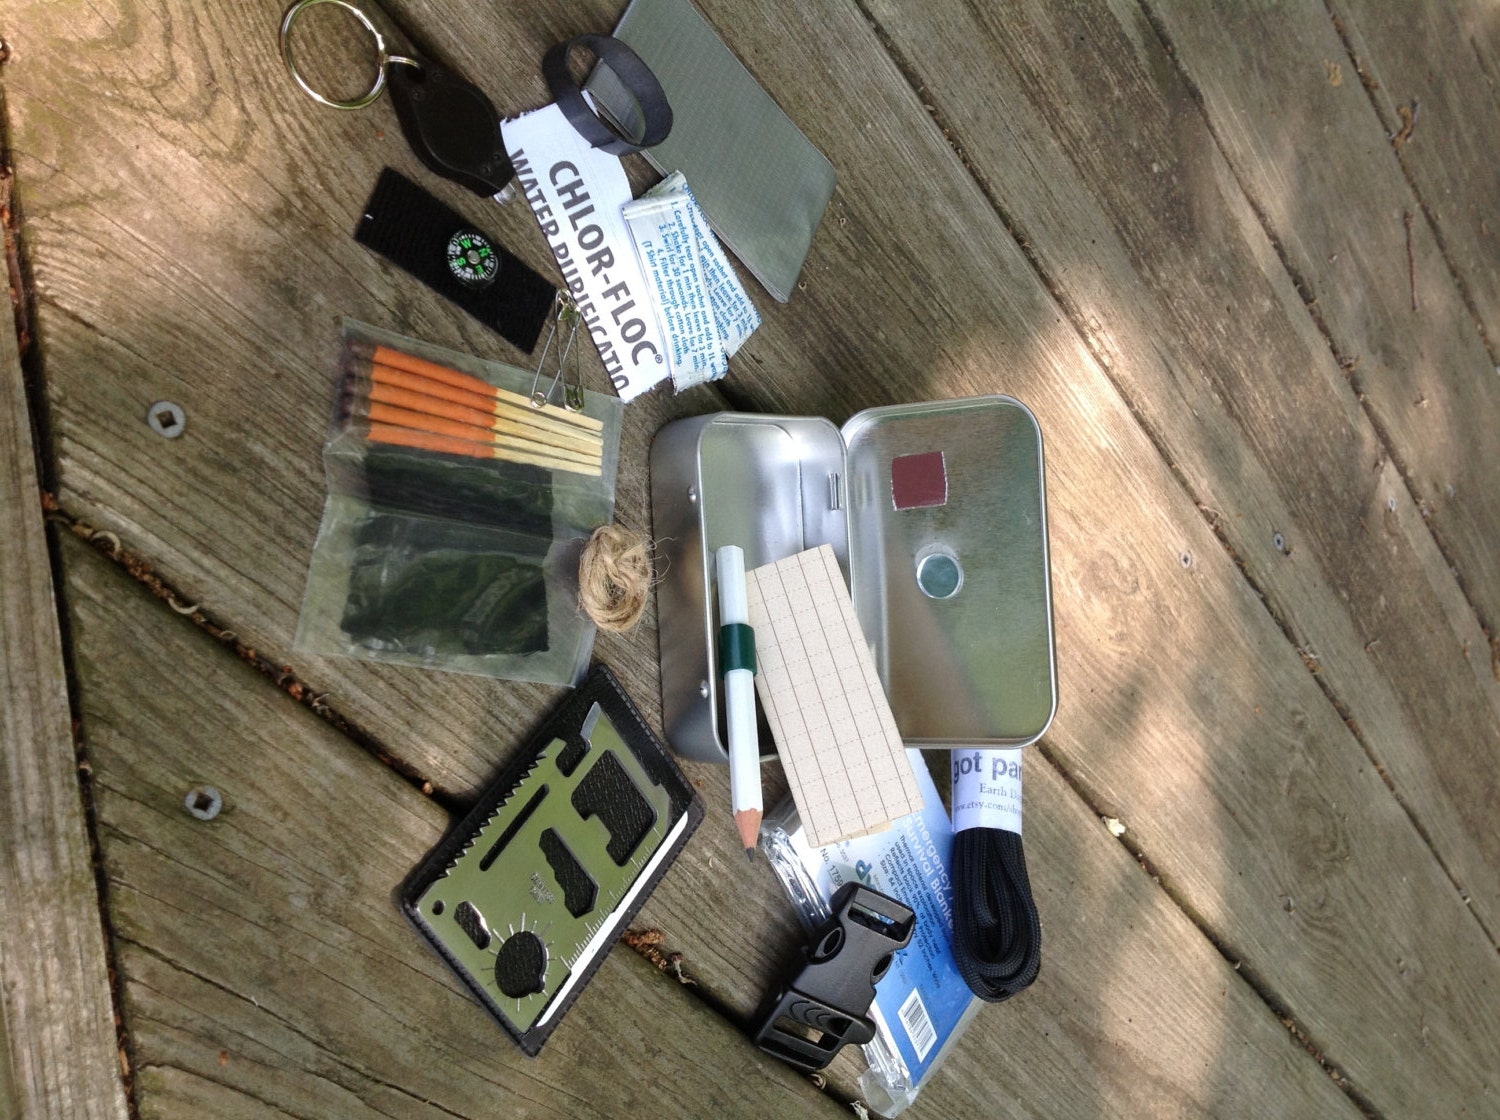
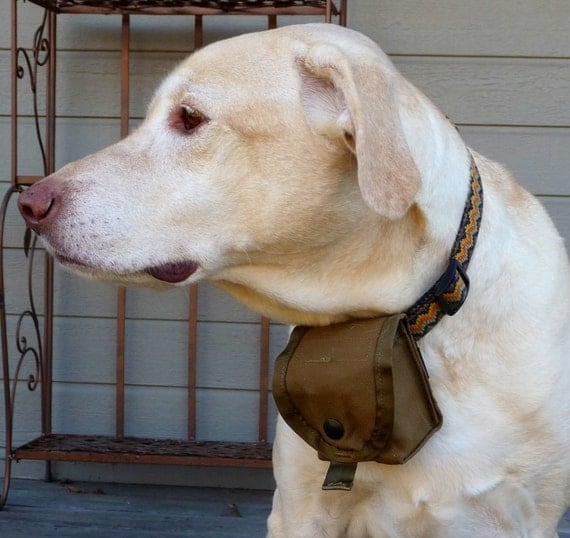
1. Emergancy Survival Kit:
I LOVE LOVE LOVE This!!!

2. Who Doesn't Love Snoopy?
Don't forget toys for them!!!!

3. Nylobones
Safe and Yummy

4. Keep 'em Safe!!!!!

5. Games to Play
Subscribe to:
Posts (Atom)